
Gold Technical Analysis: Support and Resistance Mastery
By UMH · Published 4 August 2026 · Updated 4 August 2026 · 2 min read
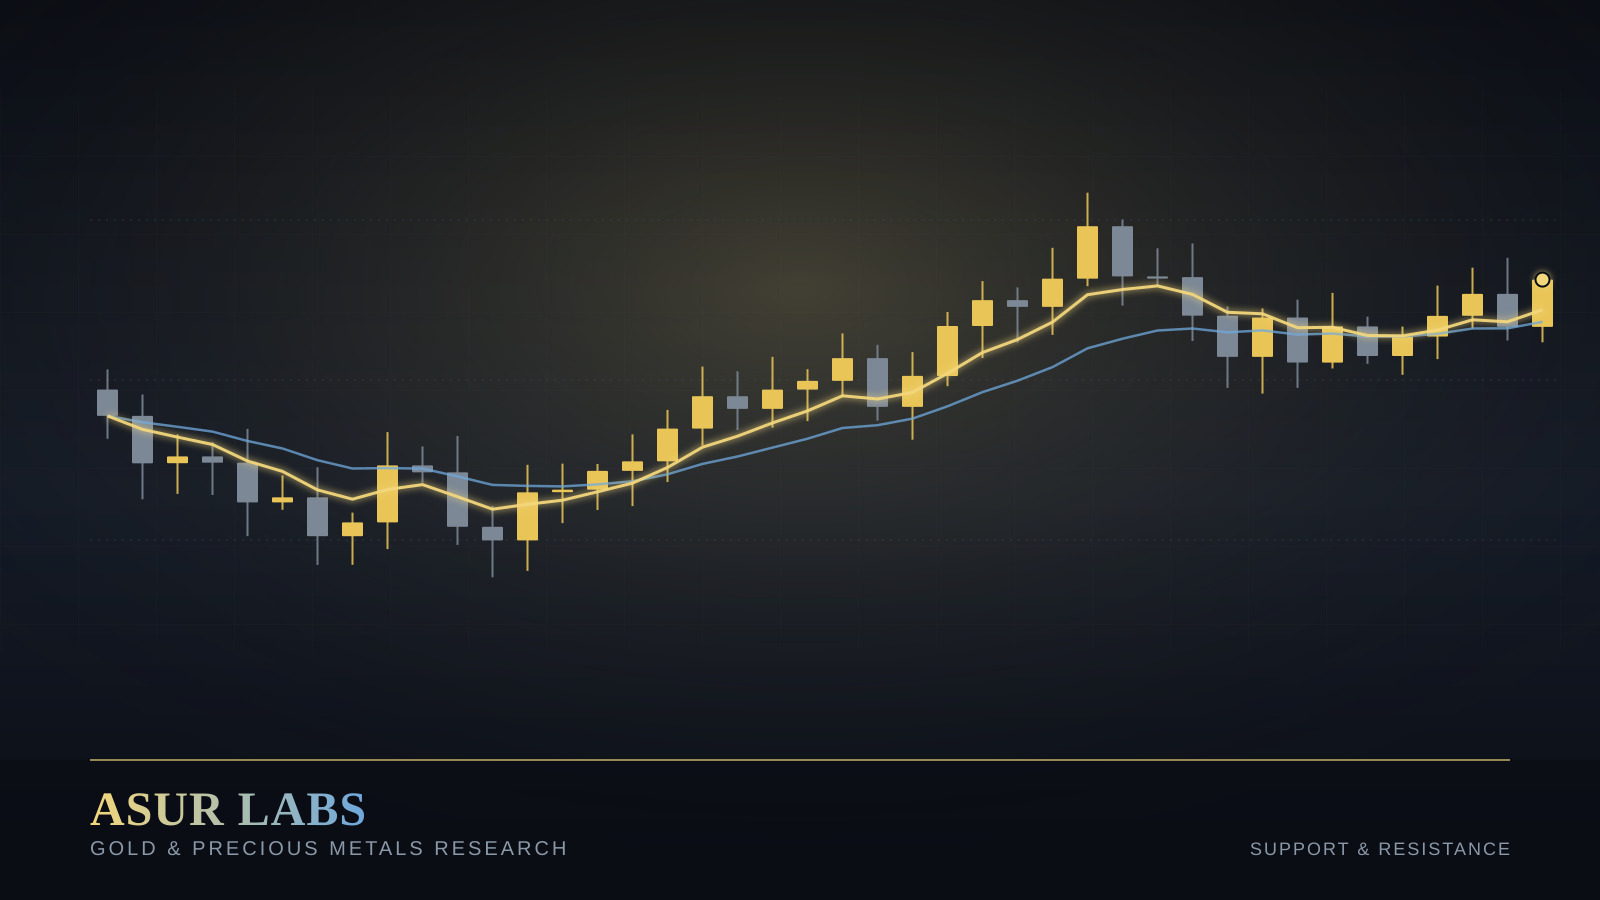
Gold Technical Analysis: Support and Resistance Mastery
Building a repeatable process for marking the levels that actually matter
Not All Levels Are Created Equal
A common beginner mistake is marking every minor swing high and low, resulting in a chart cluttered with dozens of 'levels' that provide no real edge. Strong support and resistance zones come from areas where price has reacted multiple times, or from significant structural points — previous major highs/lows, untested order blocks, and round psychological numbers.
A Repeatable Marking Process
Consistency in how you mark levels is what makes technical analysis useful across different weeks and different traders on the same team.
• Start on the Daily chart and mark only the 3-4 most significant swing highs/lows
• Drop to 4H to refine zones into ranges rather than exact lines
• Confirm zones with at least two historical reactions before treating them as high-confidence
• Re-evaluate weekly — levels lose relevance the longer they go untested
Combining Levels With Confirmation
A level alone is not a trade signal. Look for confluence — a level lining up with a Fibonacci zone, an EMA, or a clear rejection candle — before treating a touch of that level as an actionable setup.
The Asur Labs Approach: This exact top-down marking process is what underlies every key level published in our weekly and monthly XAUUSD outlooks.
0 comments
Public reading. Respectful participation is available to eligible signed-in members.
Sign in with an eligible membership to comment. Likes and sharing remain public.
Log in to leave a verified review. Likes and sharing remain public.